
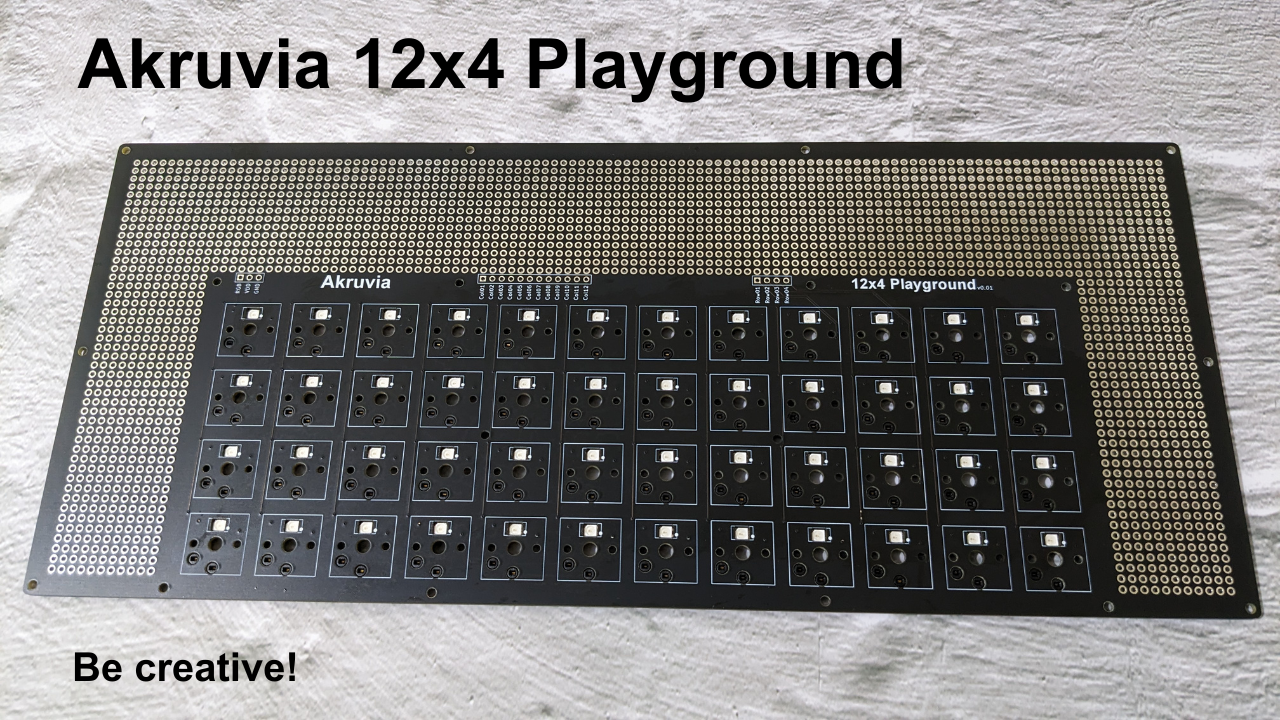
Akruvia 12×4 Playground
A DIY soldering kit for prototyping an ortholinear layout mechanical keyboard.
Switch Compatibility: Kailh Choc v1 (Hot swap).
Bring your own switch, keycap, microcontroller/board, and extra peripherals.
This is for learning, experimentation, and tinkering of both software and hardware.
Be creative!
Product inclusions:
1x Akruvia 12×4 Playground PCB
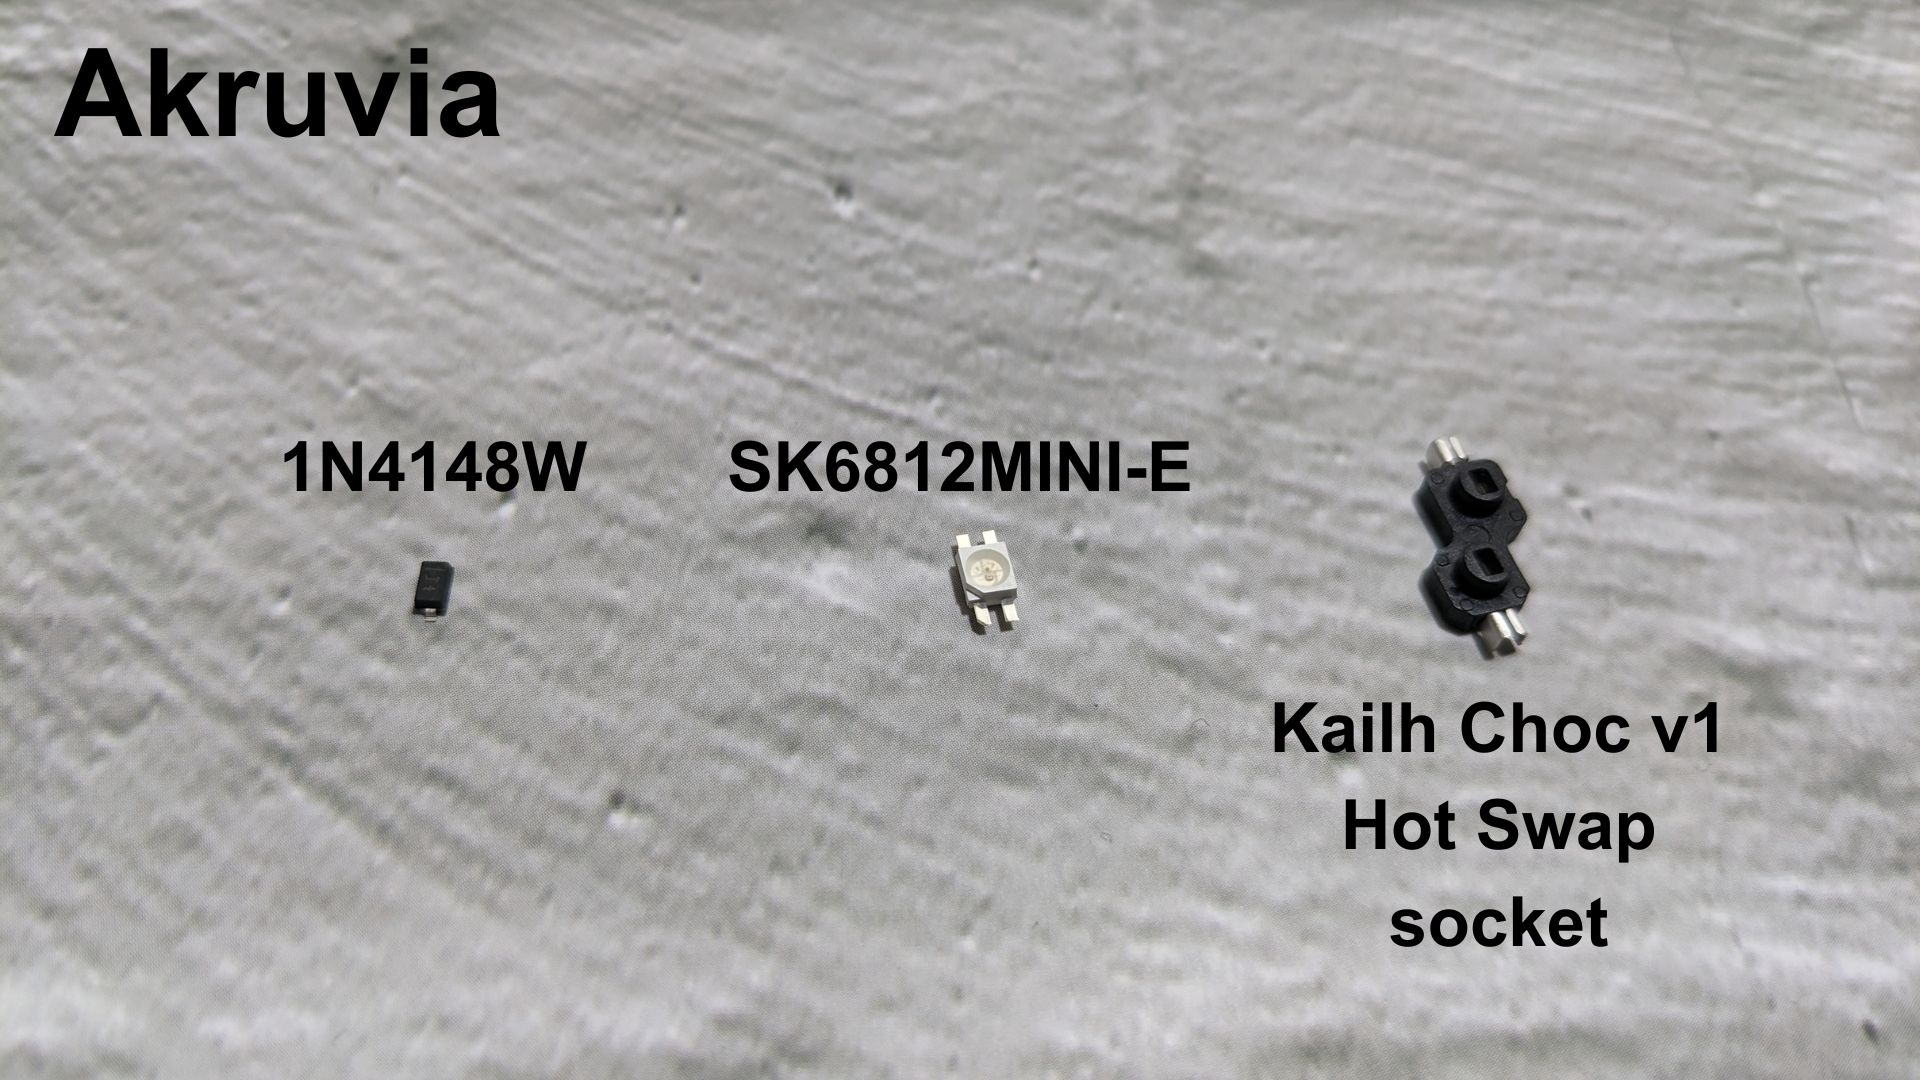
48x 1N4148 diode
48x SK6812 RGB LED
48x Kailh Choc(version 1) Hot Swap socket
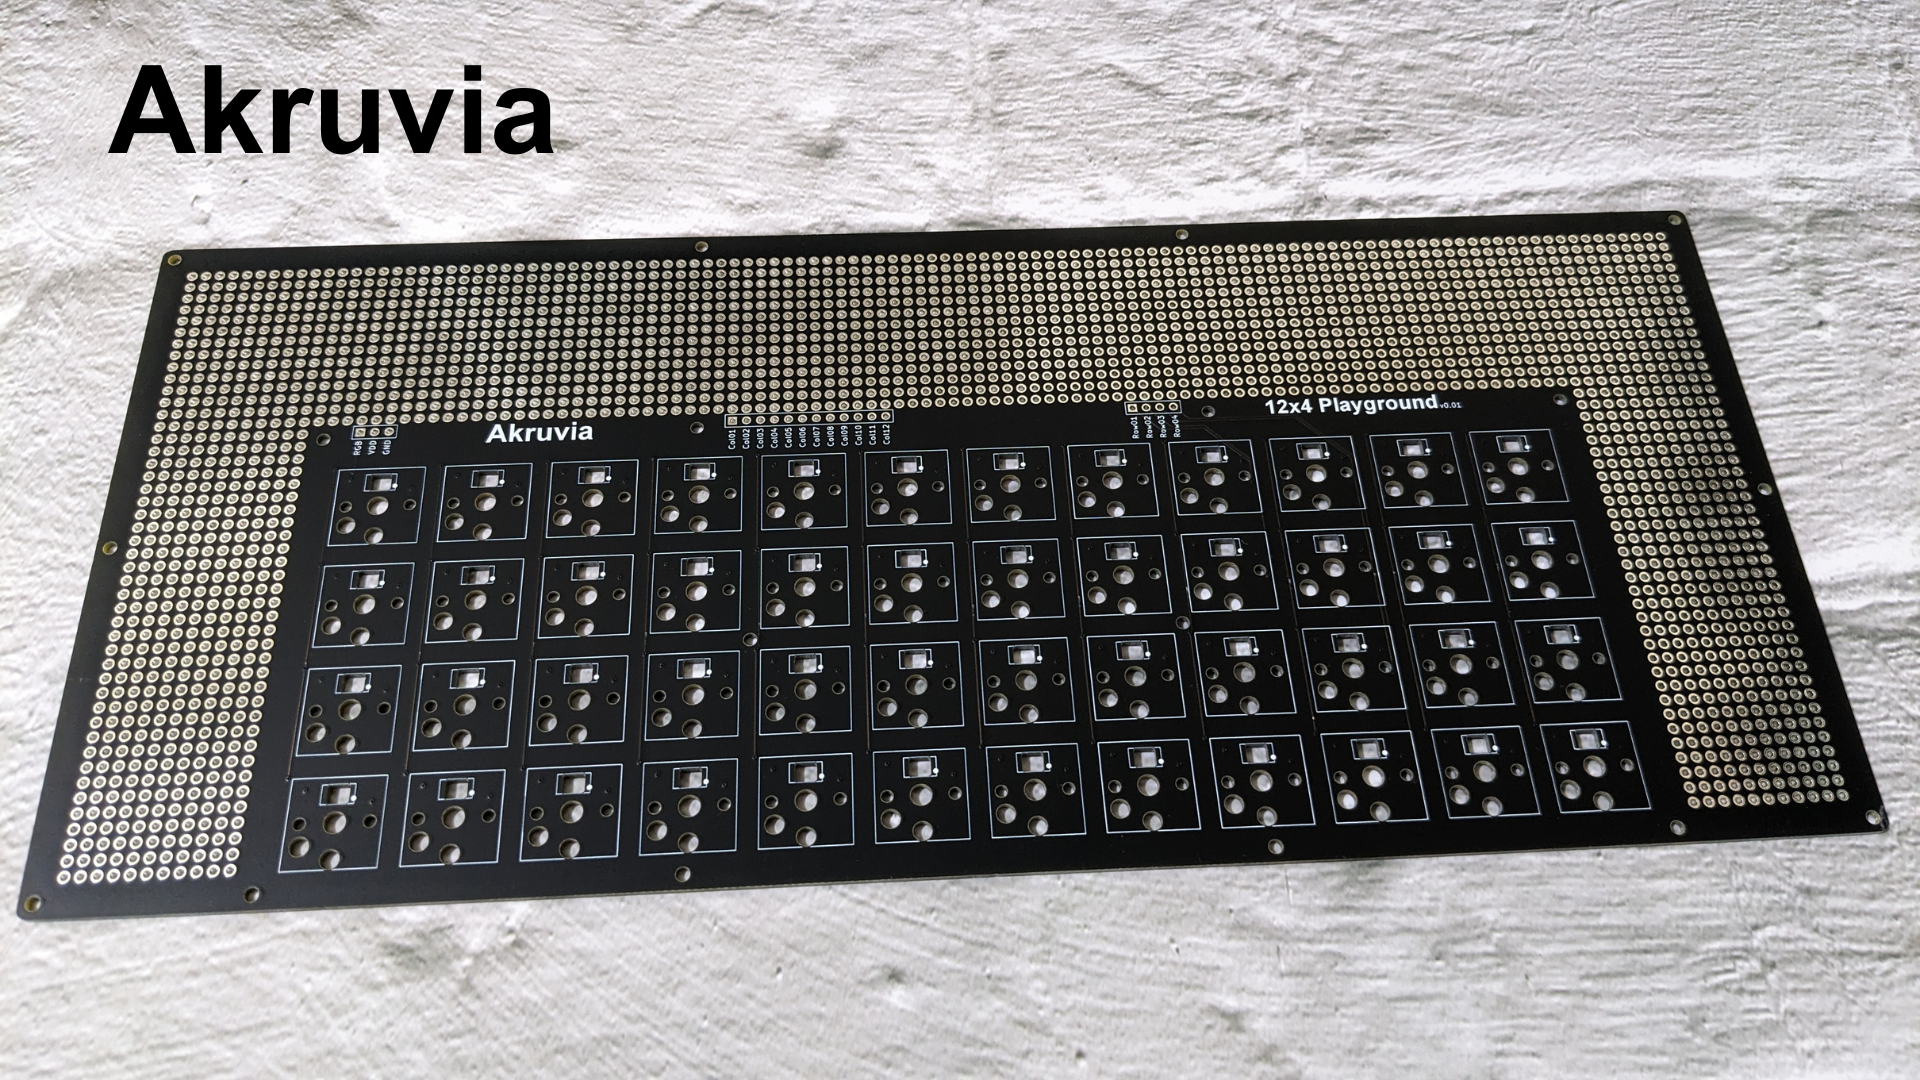
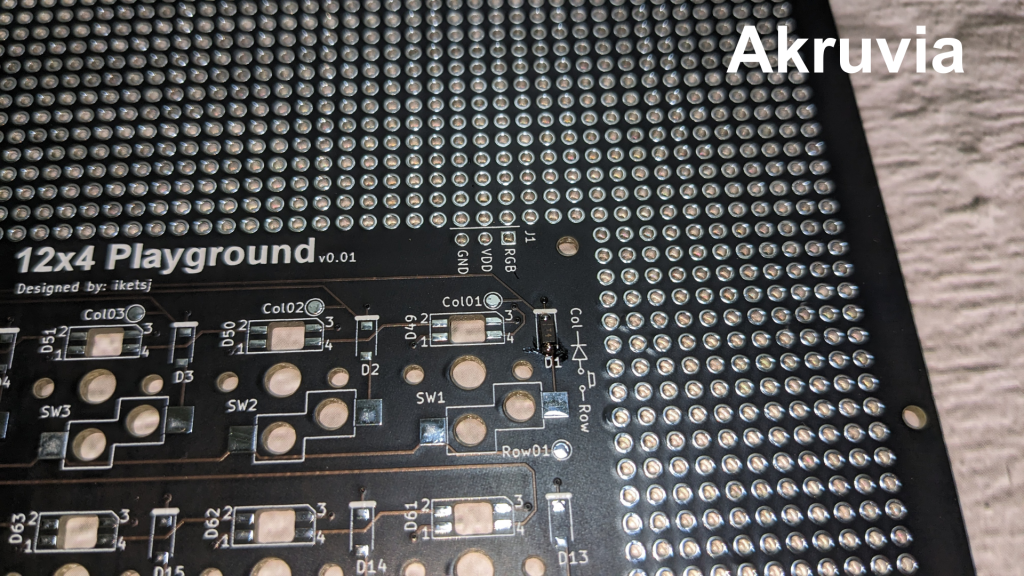
Akruvia 12×4 Playground PCB
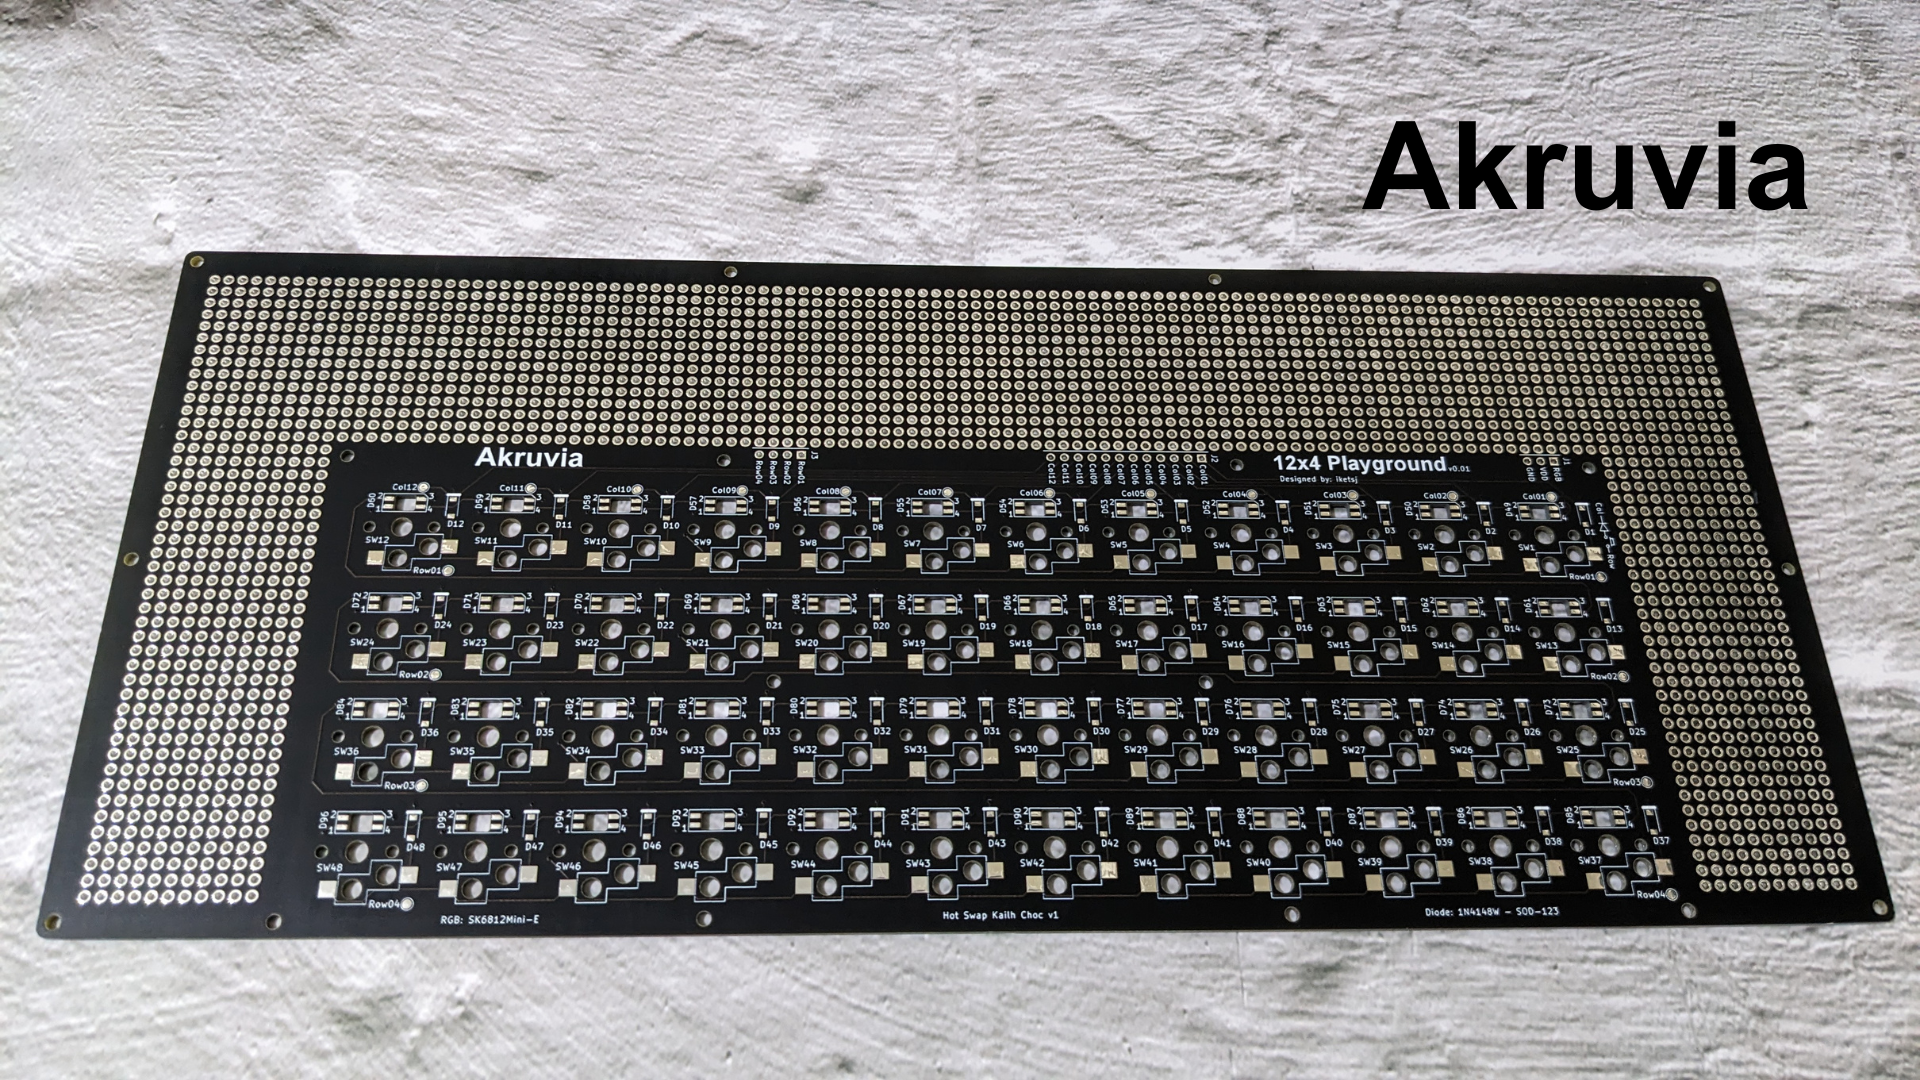
Akruvia 12×4 Playground switch matrix

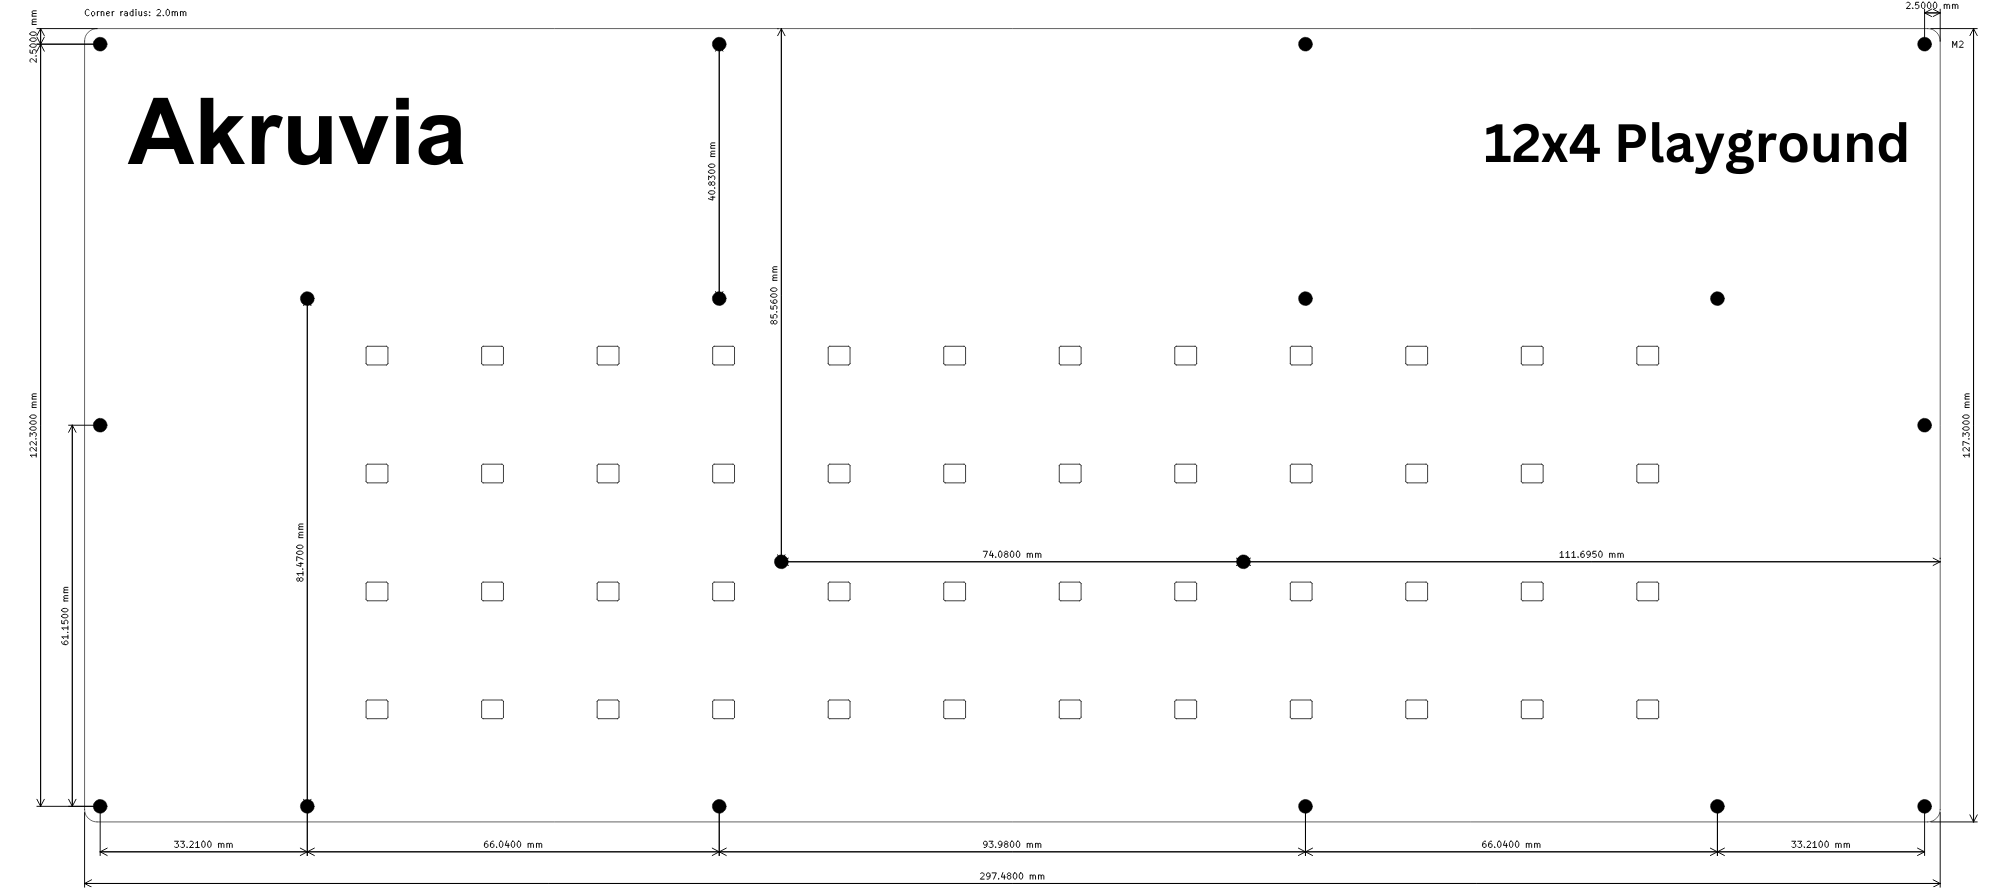
Akruvia 12×4 Playground Dimensions
ASSEMBLY STEPS:
STEP 1:
Solder the 48x 1N4148 diodes to the Akruvia 12×4 Playground PCB. (From D1 to D48)
STEP 2: (Optional)
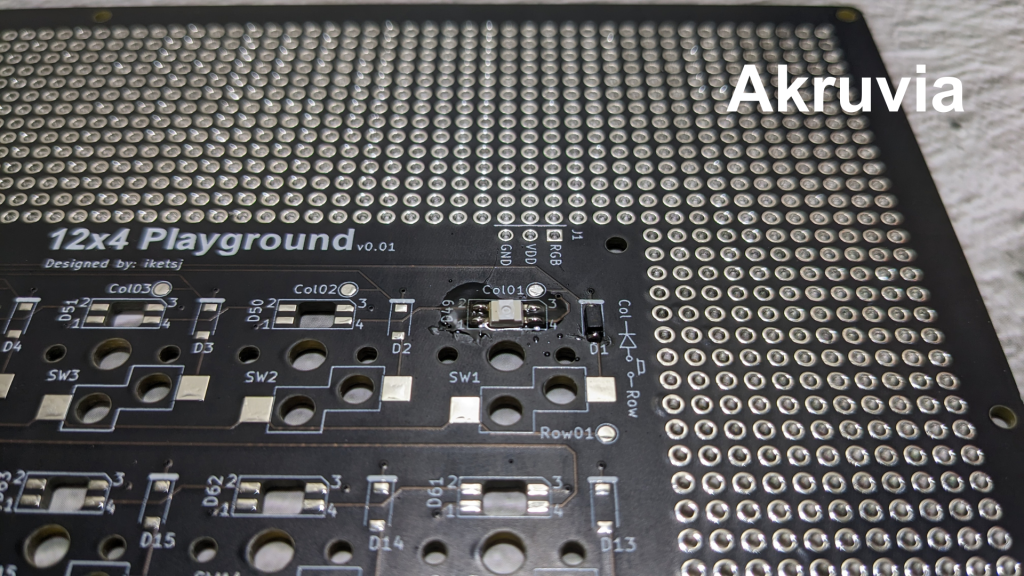
Solder the 48x SK6812 RGB LED to the Akruvia 12×4 Playground PCB. (From D49 to D96)
(If you’re using a 3.3v logic level microcontroller, it is recommended you have a logic level shifter)
(RGB pin is the DIN of the SK6812MINI-E alongside its VDD and GND located on J1 )
STEP 3:
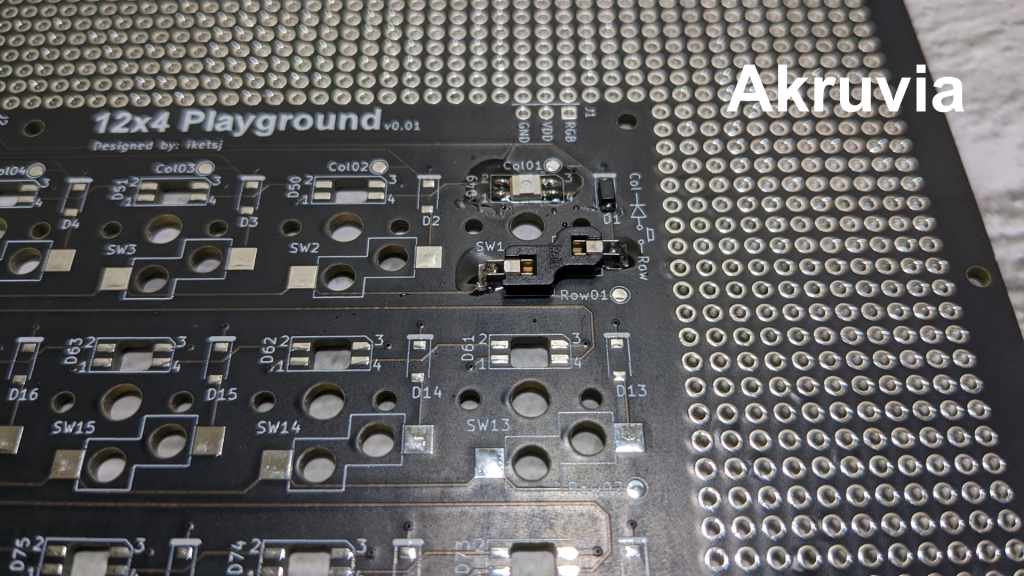
Solder the 48x Kailh Choc Hot Swap sockets. (From SW1 to SW48)
STEP 4:
Bring your own preferred Kailh Choc switches and keycaps.
Also bring your own preferred microcontroller/board.
Bring additional stuff for your build. (LEDs, Potentiometers, Rotary Encoders, LCDs, Gesture sensors, Trackballs, Trackpads, etc)
STEP 5:
Decide on the wiring of the build.
Decide on the software stack you will use. (QMK is a suggestion, just make sure your microcontroller of choice is compatible)
Be creative with the prototyping area!
Example build/s: