Buy: Etsy
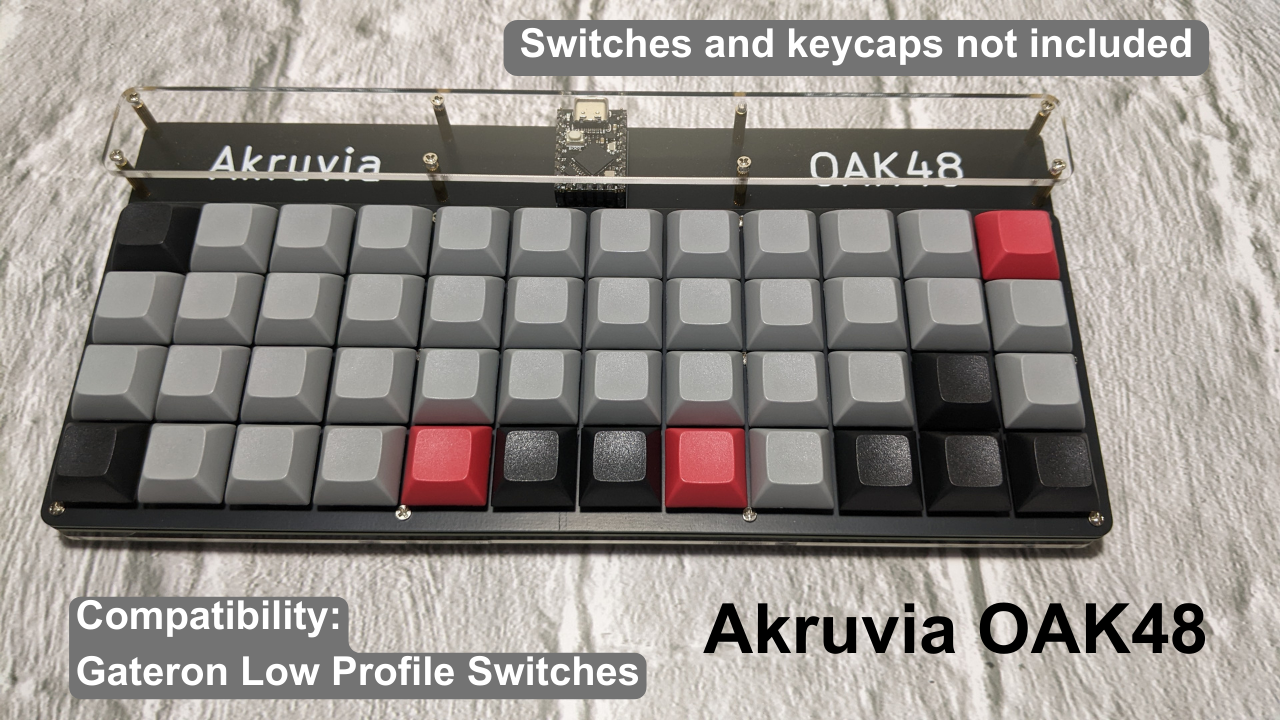
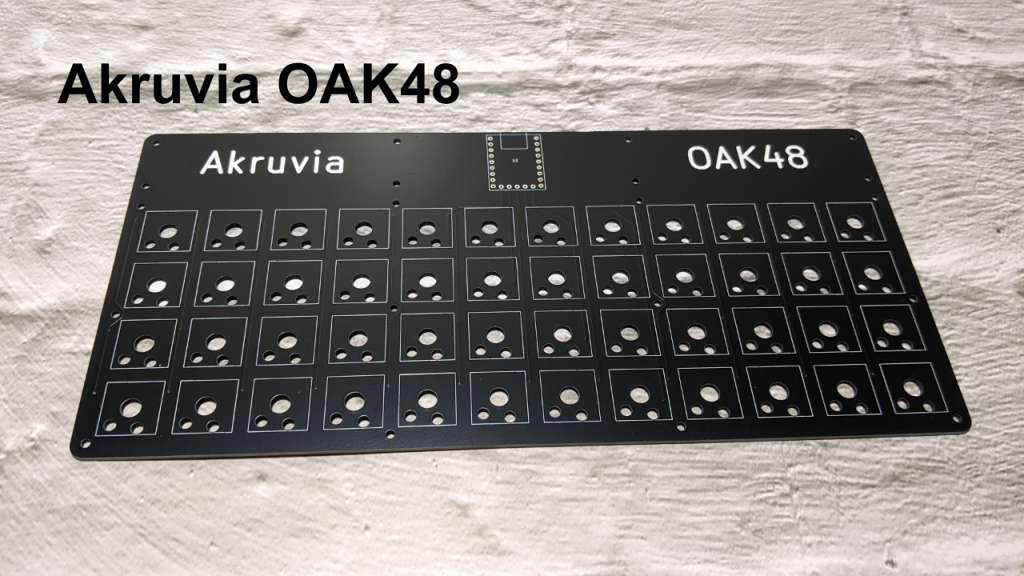
Akruvia OAK48
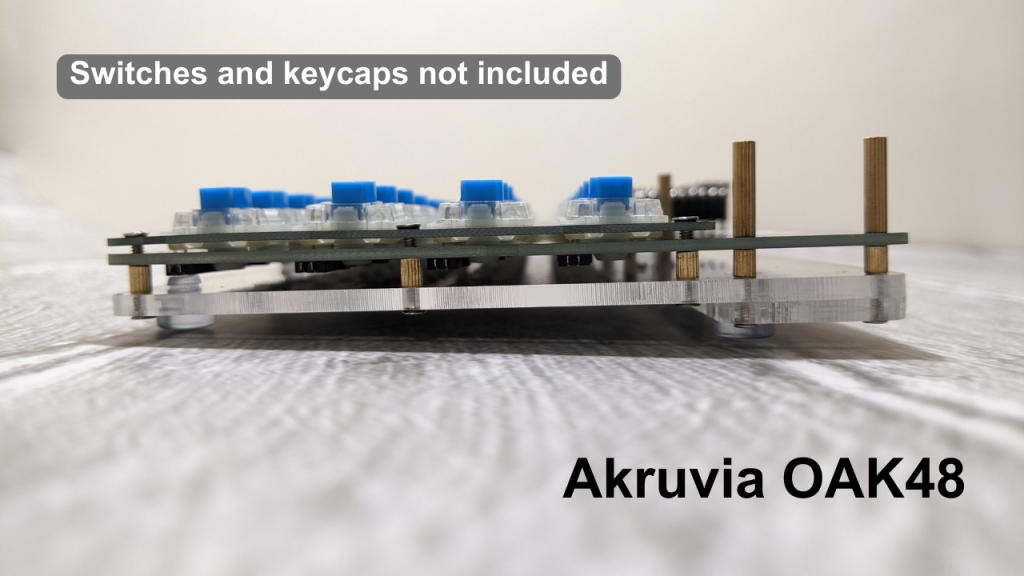
A DIY RP2040-based 12×4 Ortholinear Hot Swap Gateron Low Profile Mechanical Keyboard kit.
(Requires soldering)
Be creative with your keycaps and switches combination!
Product inclusions:
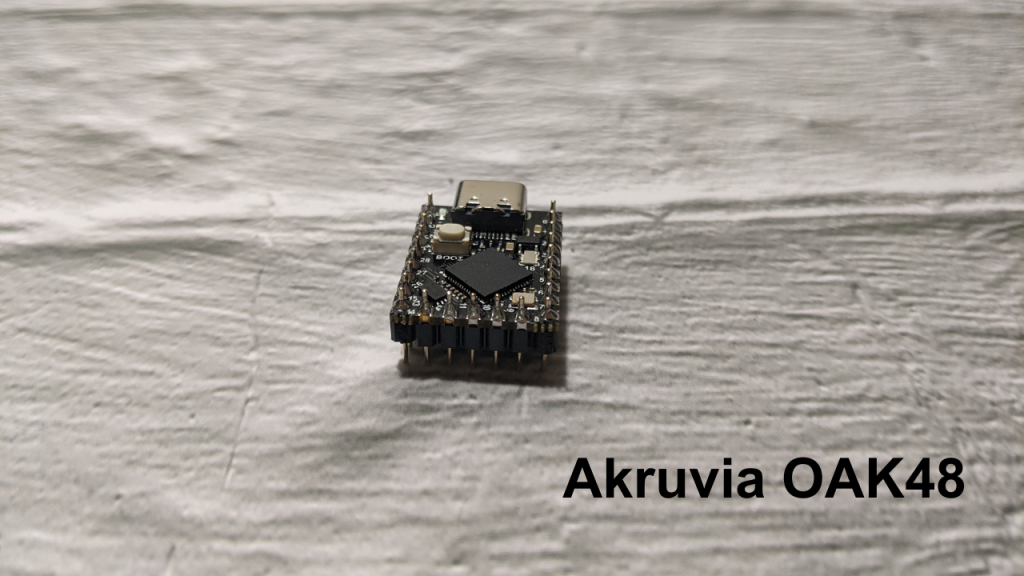
1x RP2040 board
1x 40pin low profile male header
1x 40 pin low profile female header
50x Gateron Low Profile hot swap sockets (48 + 2 Extra)
50x 1N4148W diode (48 + 2 Extra)
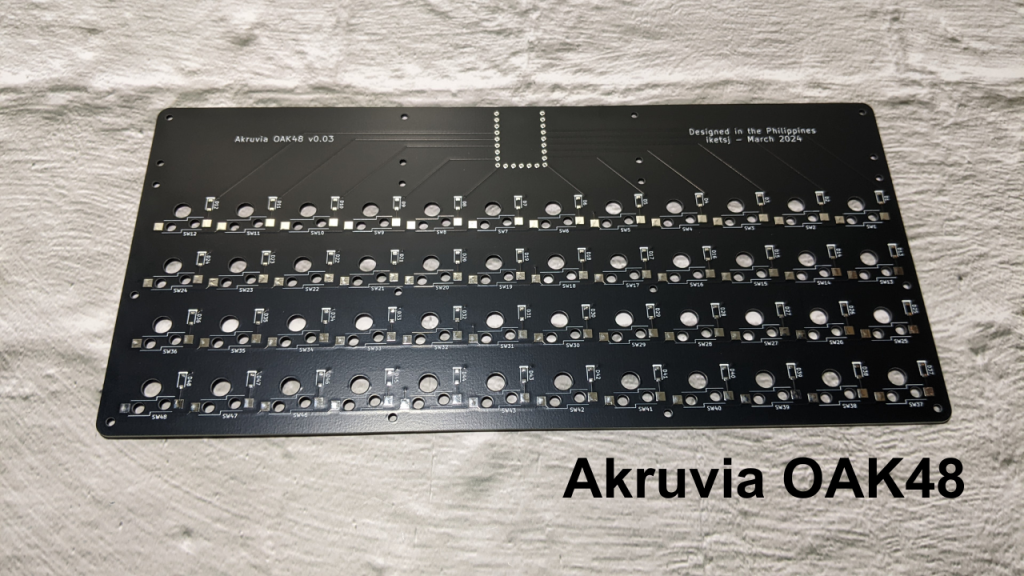
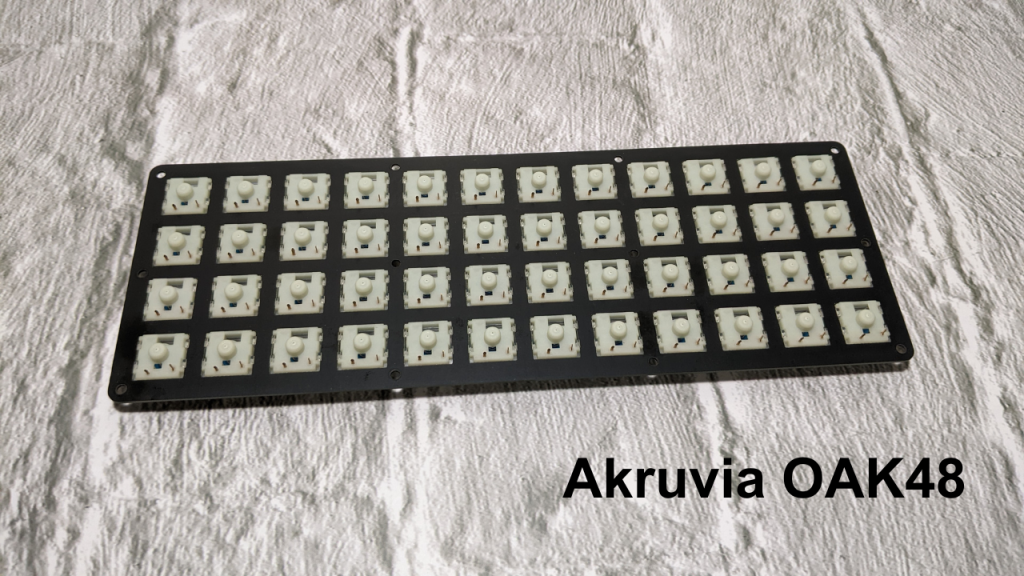
1x Keyboard PCB
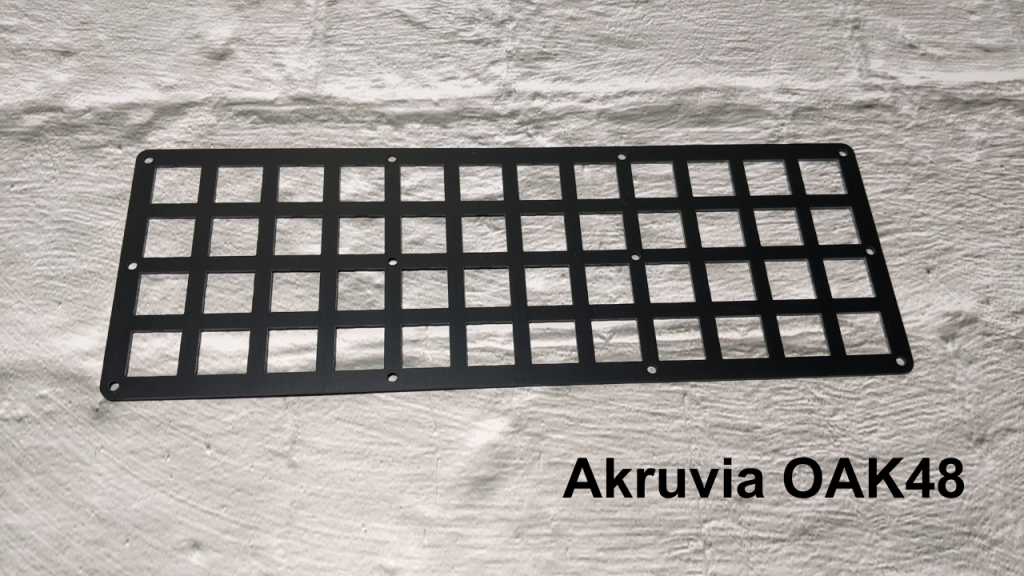
1x switch mounting plate (FR4)
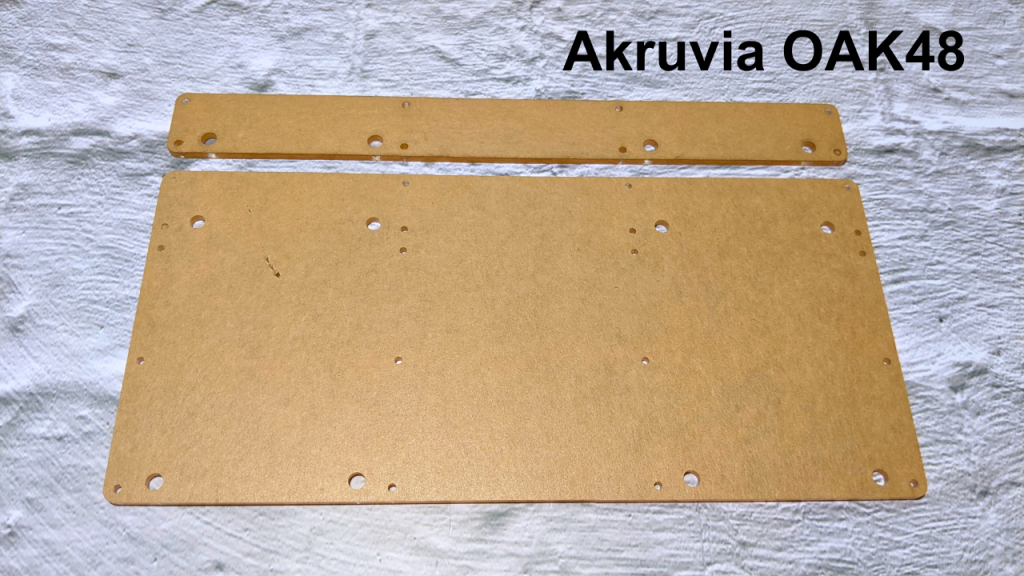
1x acrylic base plate
1x acrylic microcontroller cover
1x acrylic feet
8x silicone feet
20x M2 5mm screws
12x M2 6mm screws
8x M2 8mm screws
20x M2 4mm standoffs
8x M2 13mm standoffs (M+F)
Required:
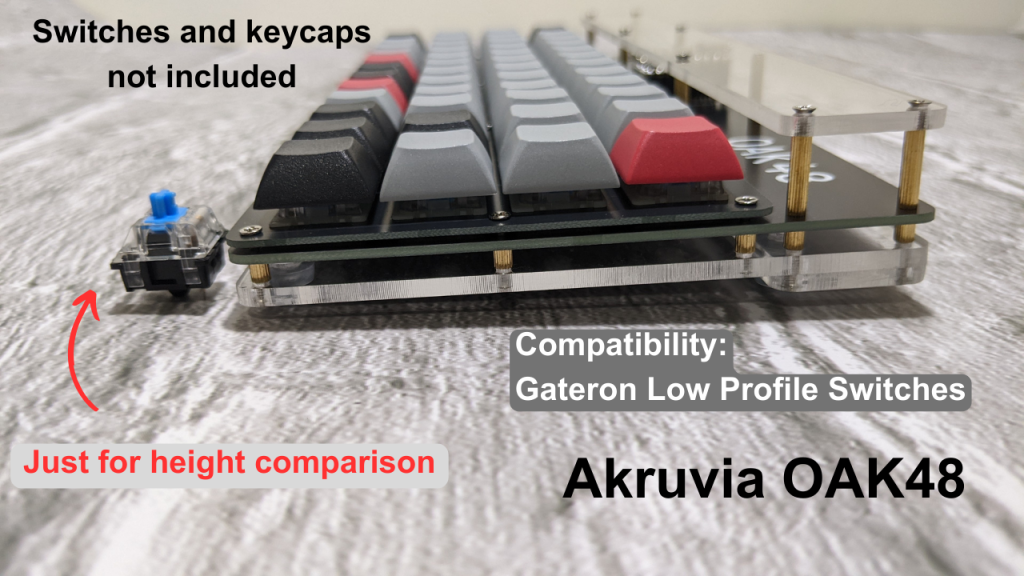
48x Gateron Low Profile switch
48x keycaps (Mind the height, try DSA)
Akruvia OAK48 PCB
Akruvia OAK48 RP2040 microcontroller board

Put uf2 file to RPI-RP2 drive for flashing.
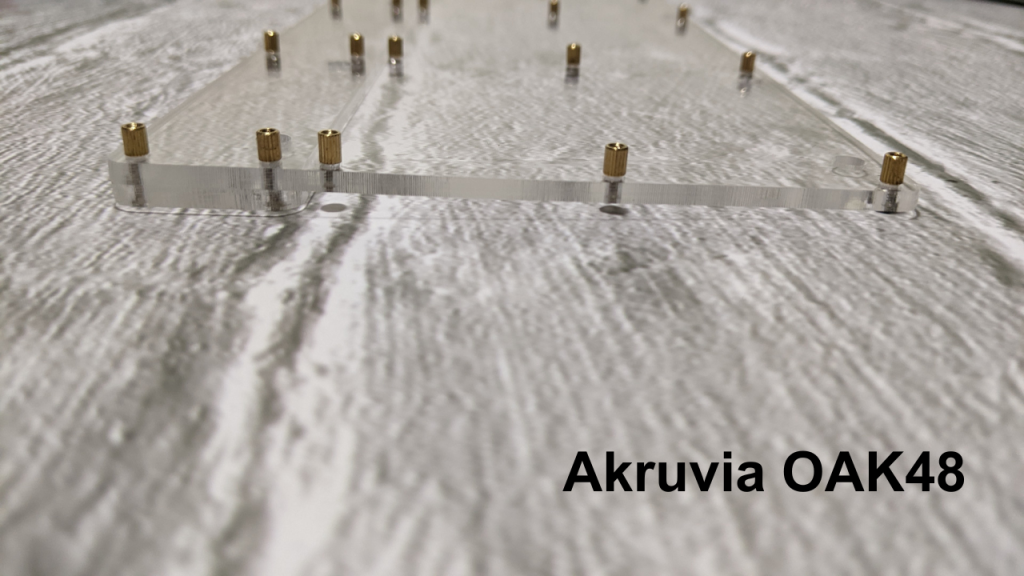
Akruvia OAK48 Acrylic

Soldering:

Solder hot swap socket from SW1-SW48 (Mind the orientation)
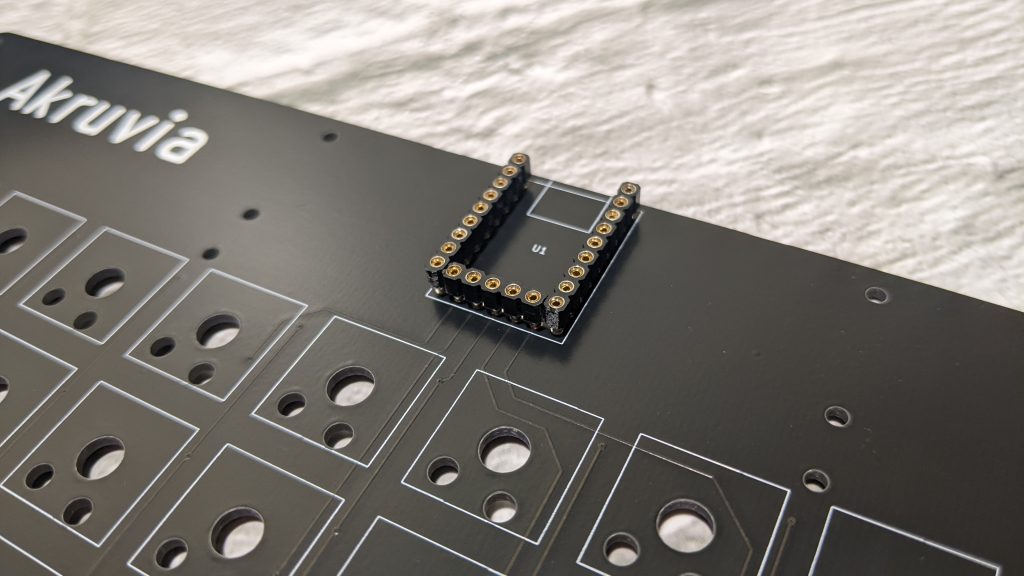
2x 9pin female header
1x 5pin female header
then solder to main PCB
2x 9pin female header
1x 5pin female header
then solder to the RP2040 board
Gateron Low Profile Switch and Mounting Plate


Mechanical Info


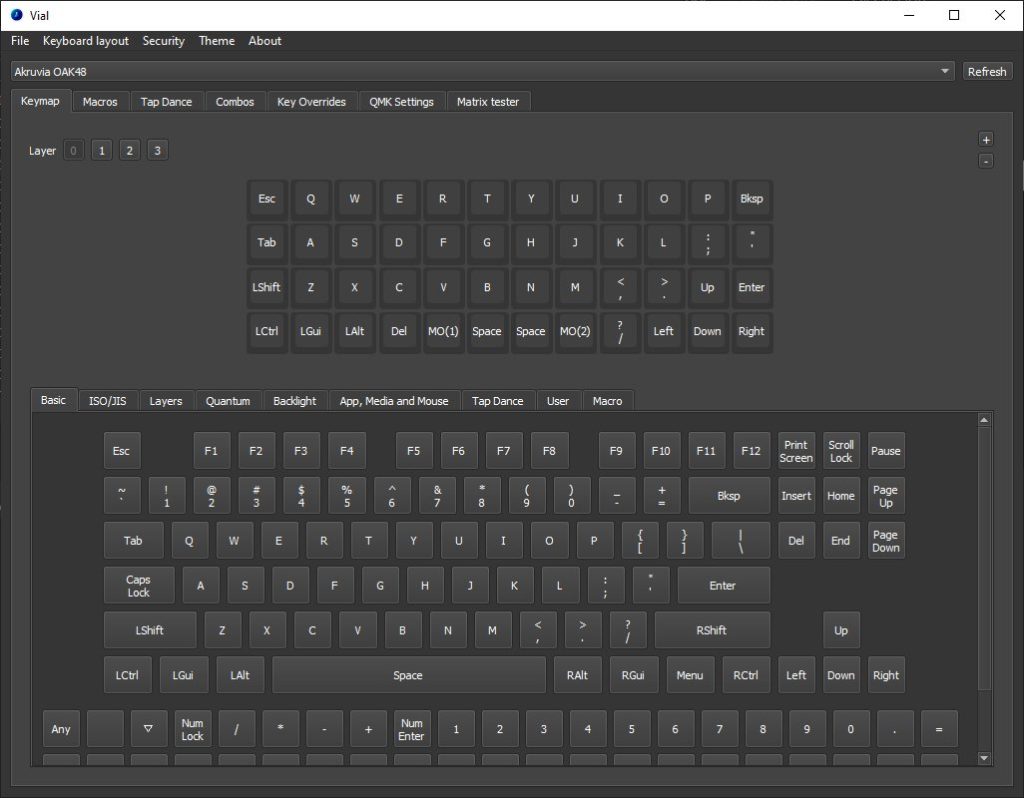
QMK and Vial Support:
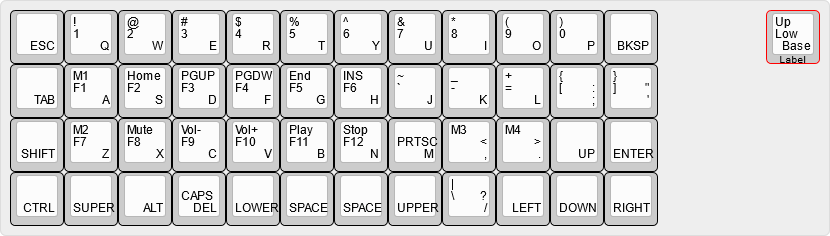
Green LED on the microcontroller board lights up to indicate lower layer is active.
Blue LED on the microcontroller board lights up to indicate upper layer is active.
Red LED on the microcontroller board lights up to indicate Caps Lock is on.