Buy: Etsy
Akruvia Palm
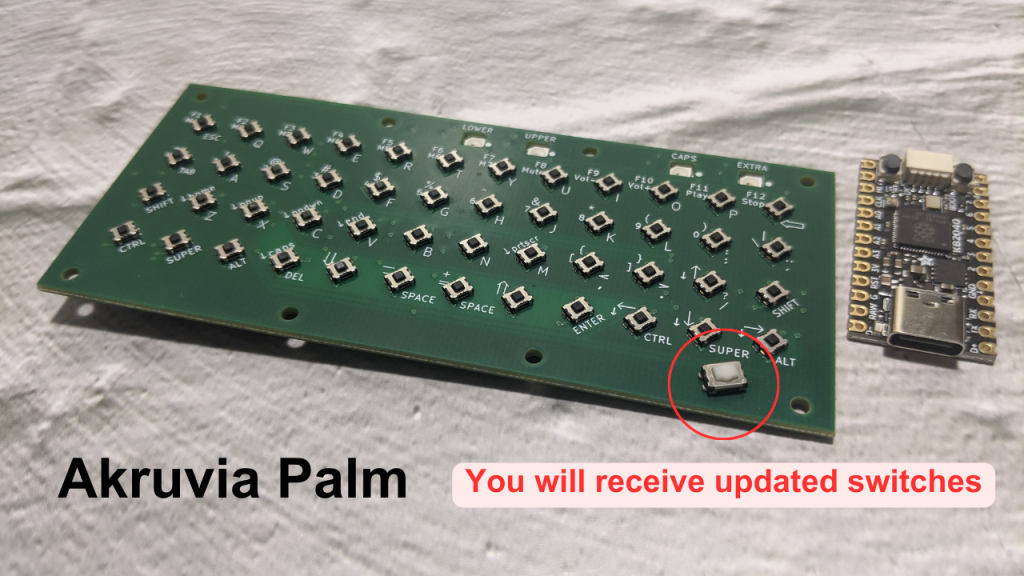
A Small RP2040 USB Handheld Wired 12×4 Keyboard kit for your DIY Cyderdecks, UMPCs, handheld PC builds. (104mm x 45.15mm)
Be creative!
Product inclusions:
1x Akruvia Palm PCB (pre-soldered)
1x KB2040 (needs to be soldered on the Akruvia Palm PCB)
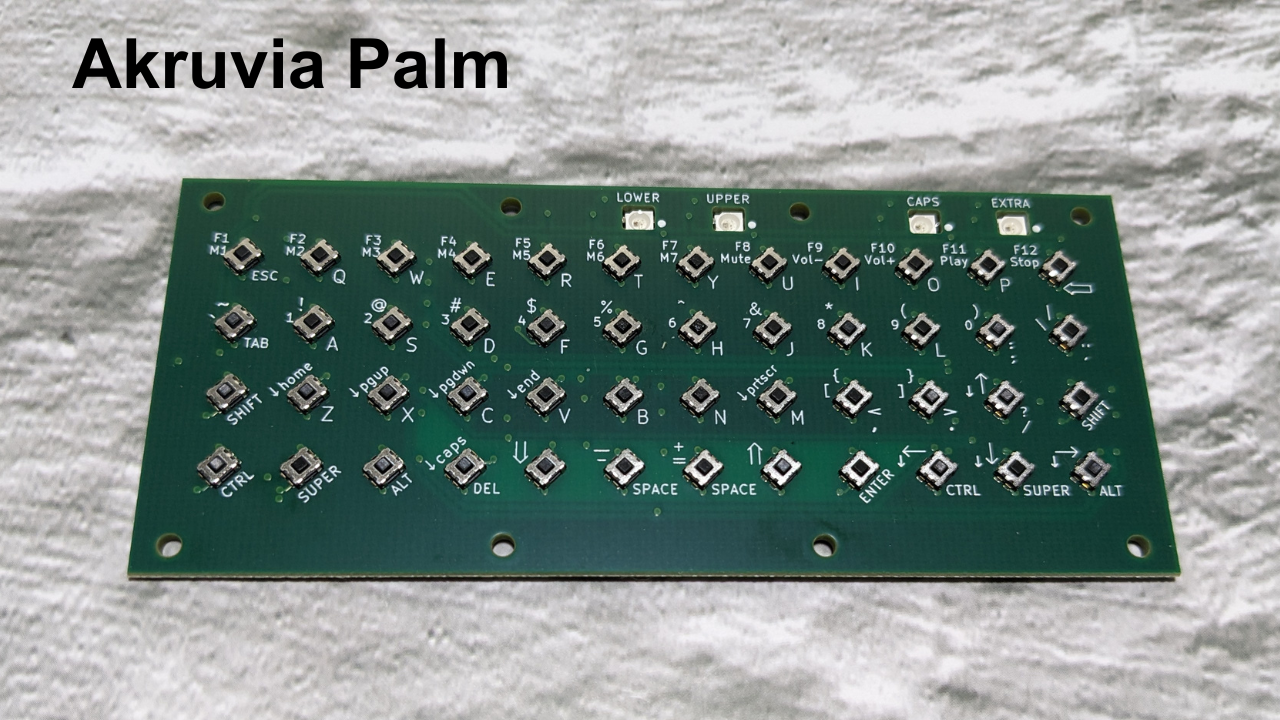
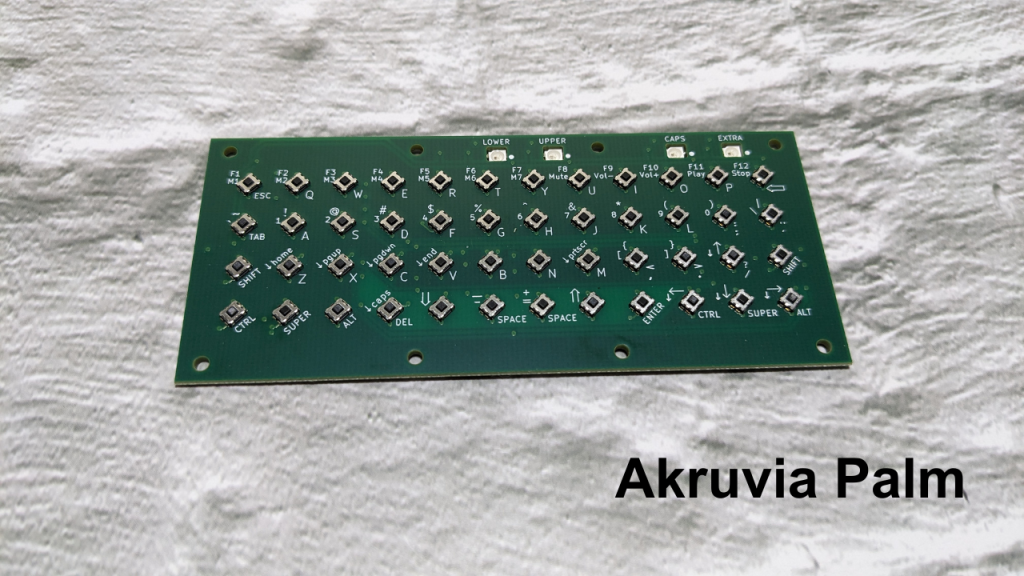
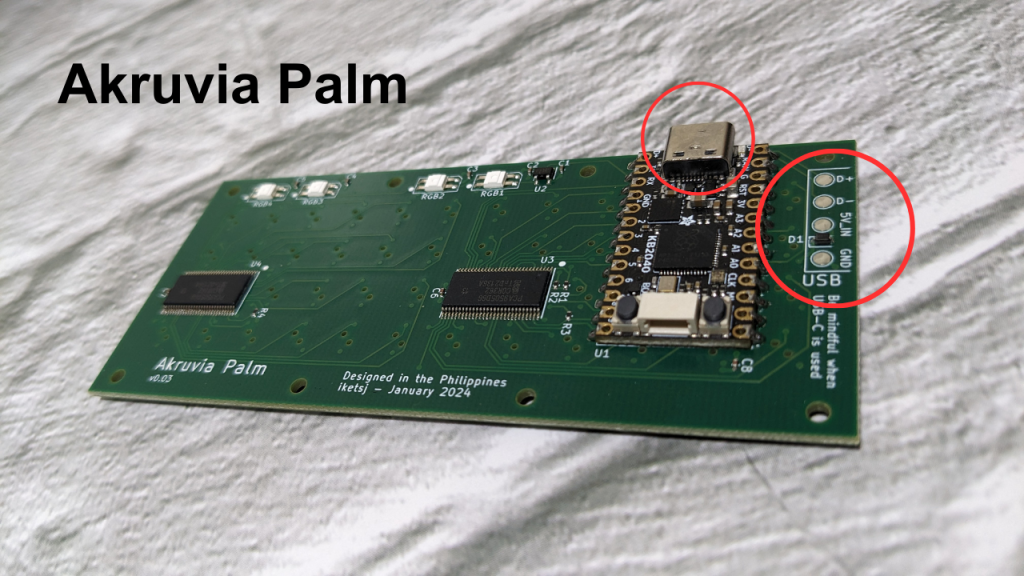
Akruvia Palm PCB

Akruvia Palm Dimensions

Solder KB2040
Vanilla firmware is within QMK:
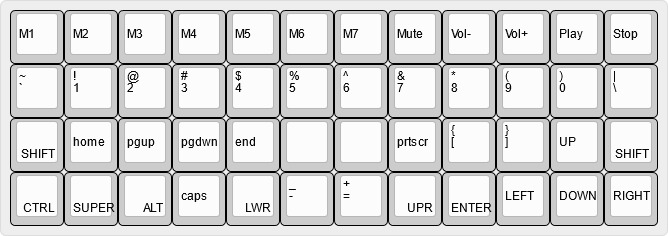
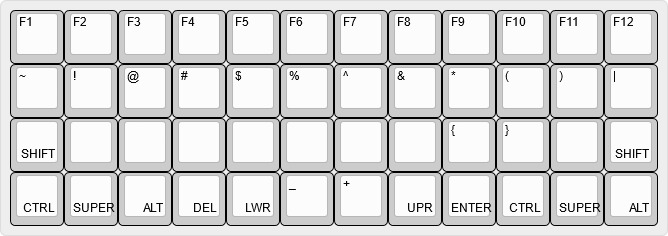
Akruvia Palm Keyboard Layer Behavior (akruvia keymap)
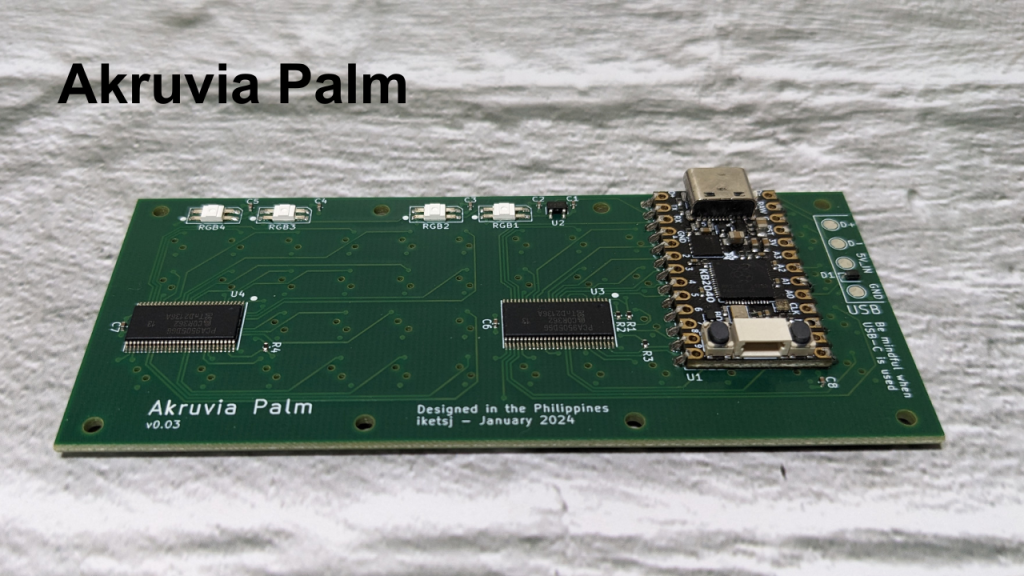
There are 4x RGB LEDs.
For LOWER and UPPER for determining current layer, Capslock and an Extra RGB LED that is user-assignable by editing the code.
You can technically change the behavior(like the color for example) of any of these LEDs by editing the code or making your own, the legends might not make sense though.
Keyboard layers:

Images are made with http://www.keyboard-layout-editor.com/.

Vanilla firmware RGB LED color is red when lit up.
Vanilla firmware RGB LED color is red when lit up.
M1-M7 keys are Macro keys(user-assignable), including the blank keys. The Macro keys just have legends.
You can edit or make your own code.
Vanilla firmware RGB LED color is red when lit up.
The blank keys can be reassigned to whatever you want by editing the code.
Technically, all keys can be reassigned by editing code, but the key legends would not make sense.
Akruvia Palm USB
Notes:
The switches will be updated to a better one. (Easier to press but relatively larger footprint) (PCB size will remain the same.)
Akruvia keymap is recommended rather than the default keymap.
Add this to your rules.mk on the Akruvia Palm QMK source code for the Caps Lock LED indicator to work properly on Linux-based OS or maybe other OSes:
KEYBOARD_SHARED_EP = yes