
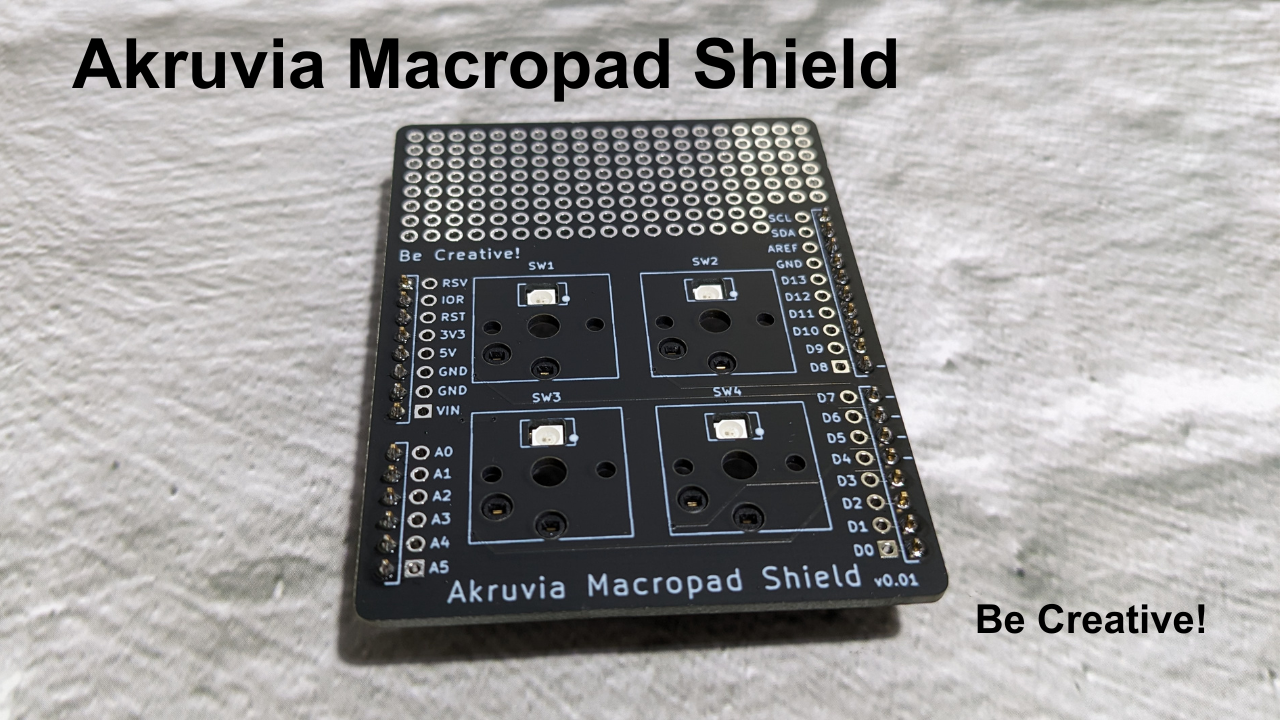
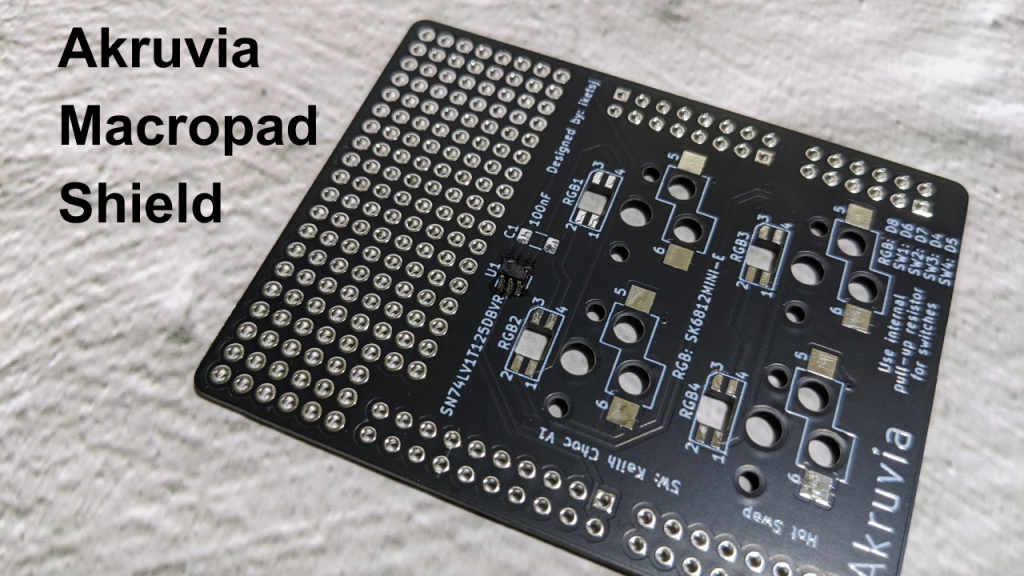
Akruvia Macropad Shield
A DIY soldering kit Arduino shield.
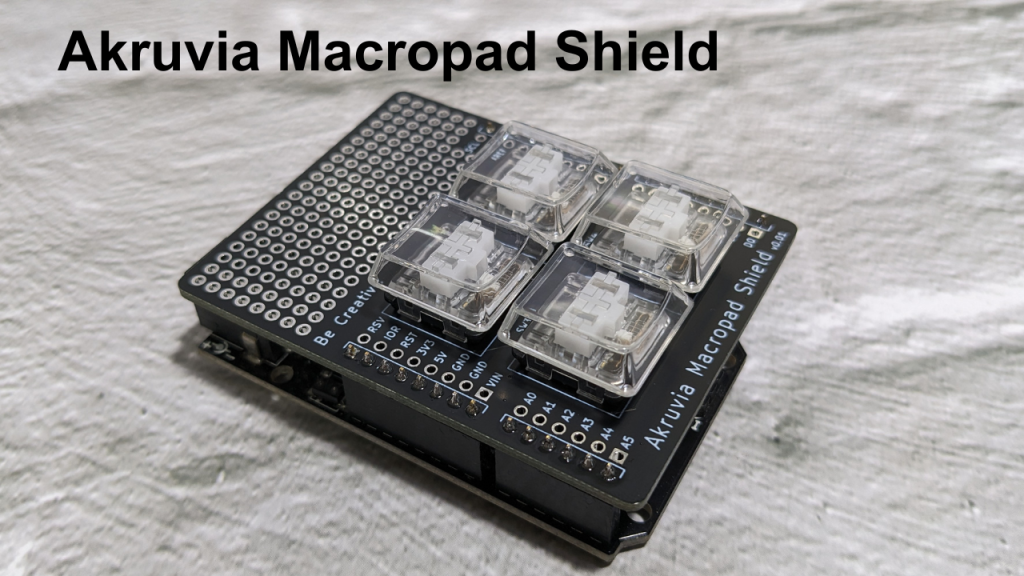
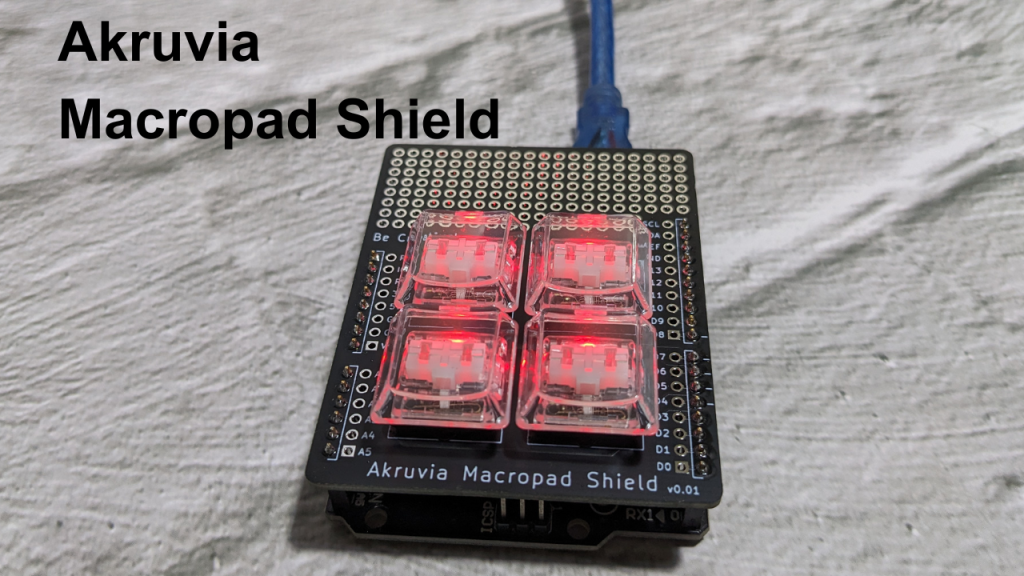
It’s a 2×2 RGB backlit Kailh Choc v1 macropad board with a prototyping area.
Switch Compatibility: Kailh Choc v1 (Hot swap).
Bring your own Kailh Choc v1 switch and keycap.
Be creative with the prototyping area!
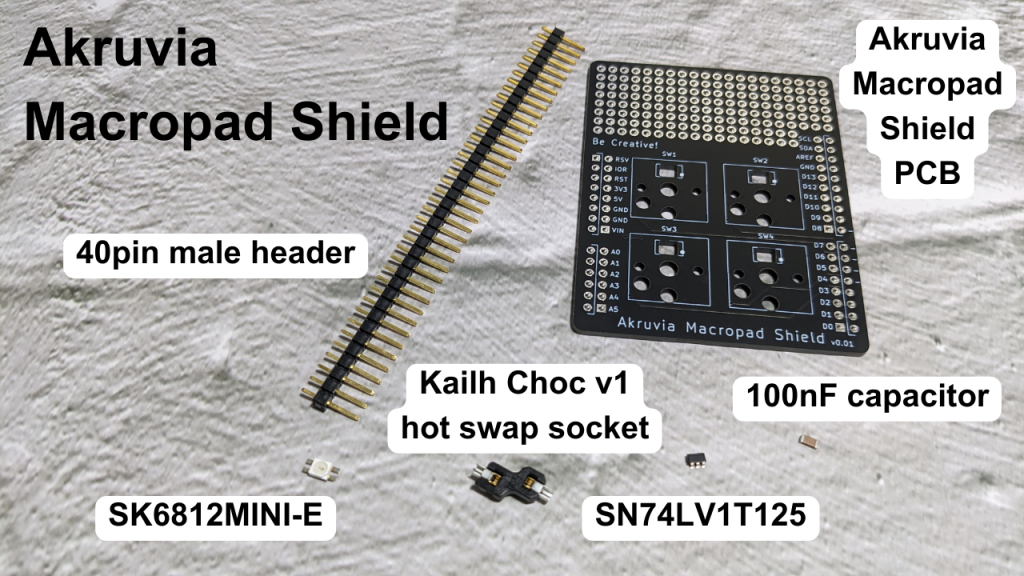
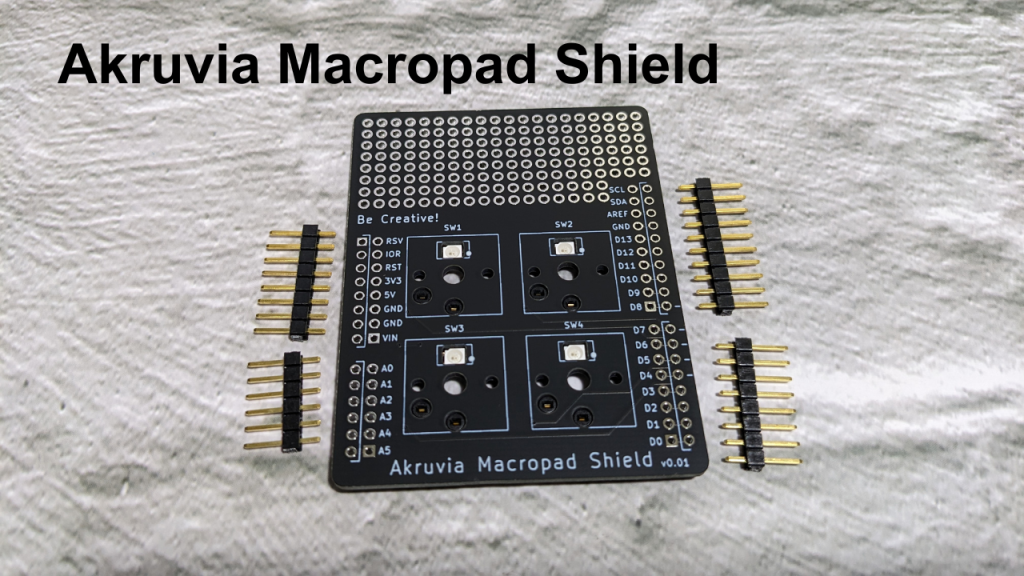
Product inclusions:
1x Akruvia Macropad Shield PCB
1x SN74LV1T125
1x 1206 100nF capacitor
4x SK6812 RGB LED
4x Kailh Choc(version 1) Hot Swap socket
1x 40pin male header
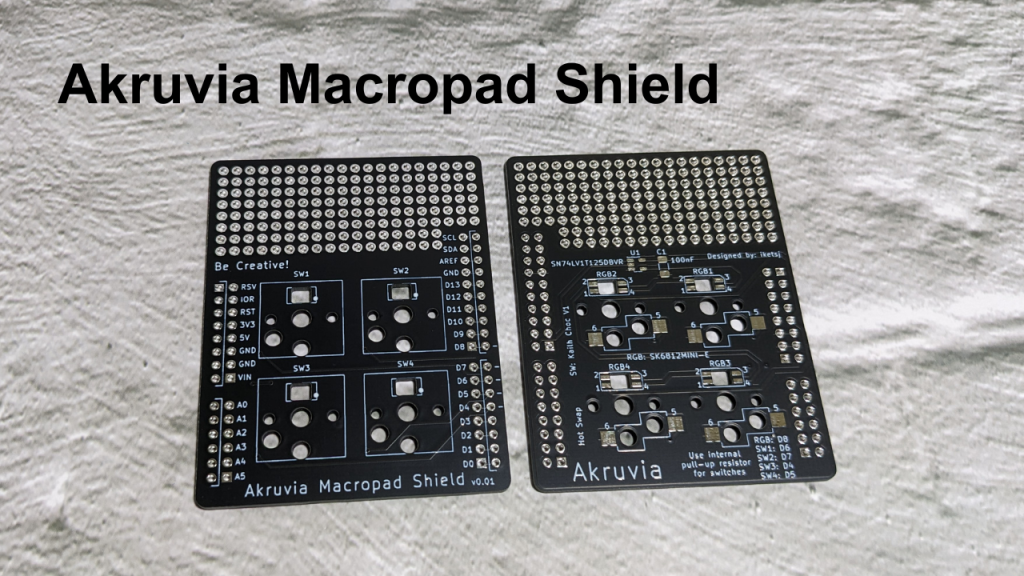
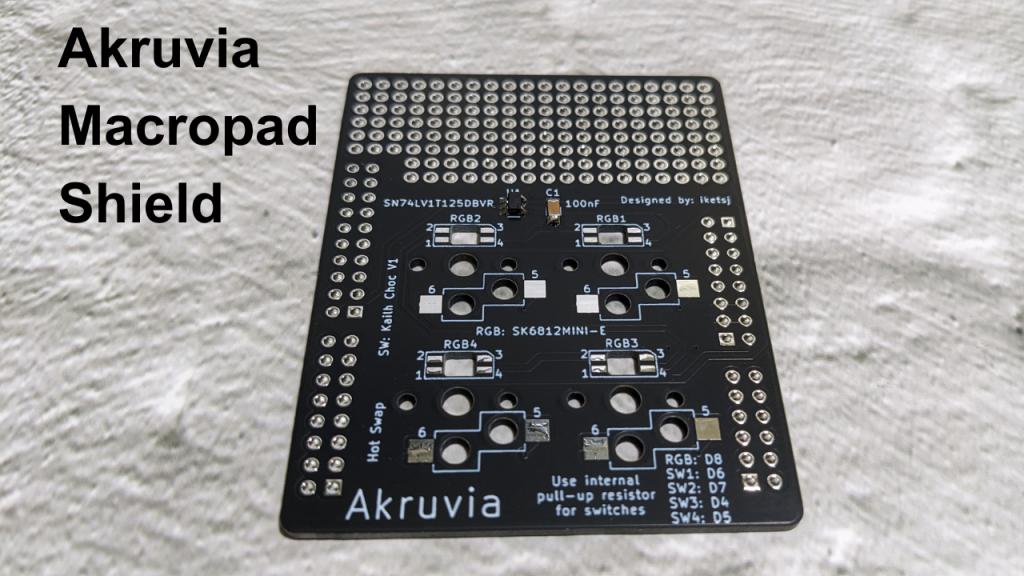
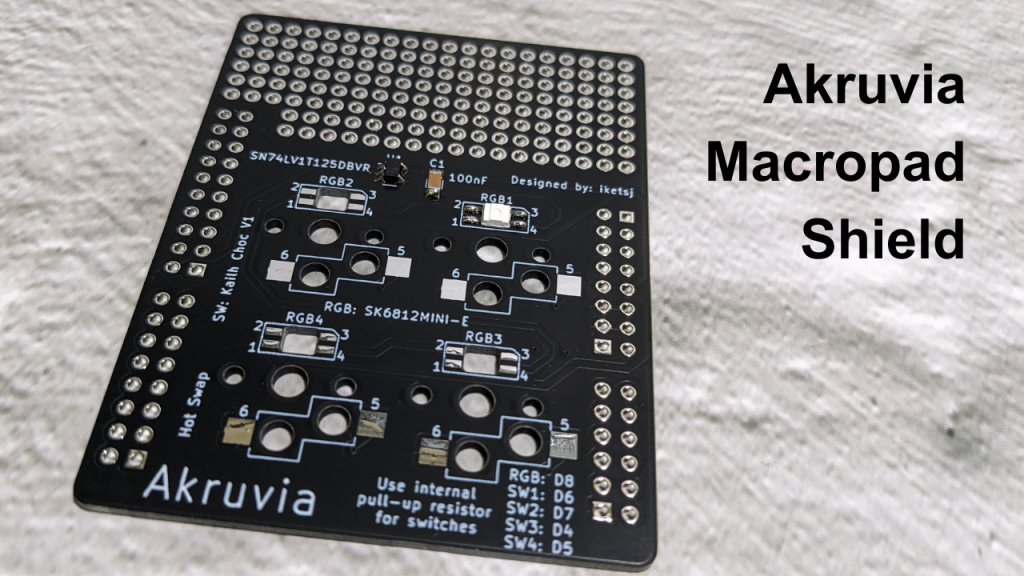
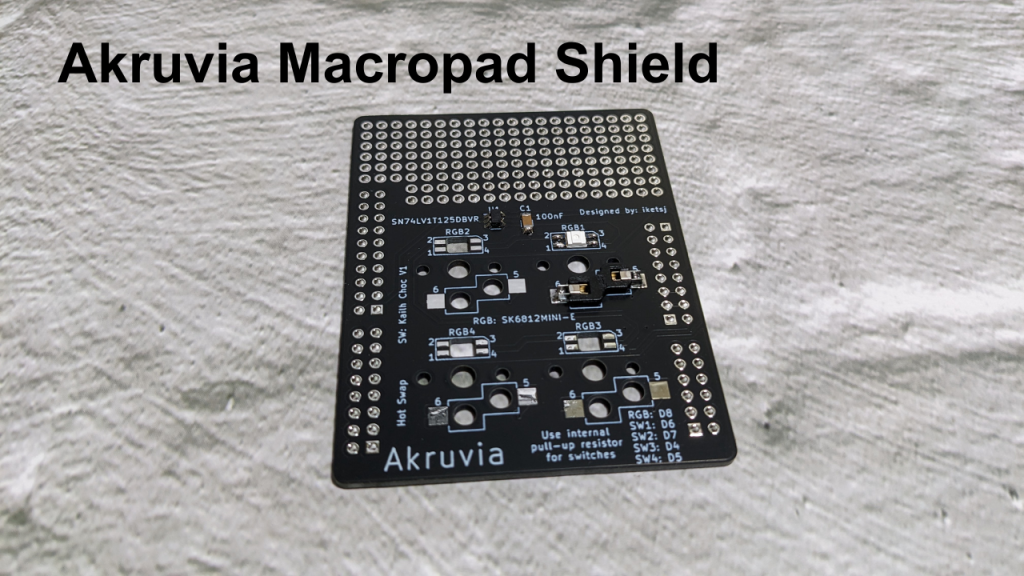
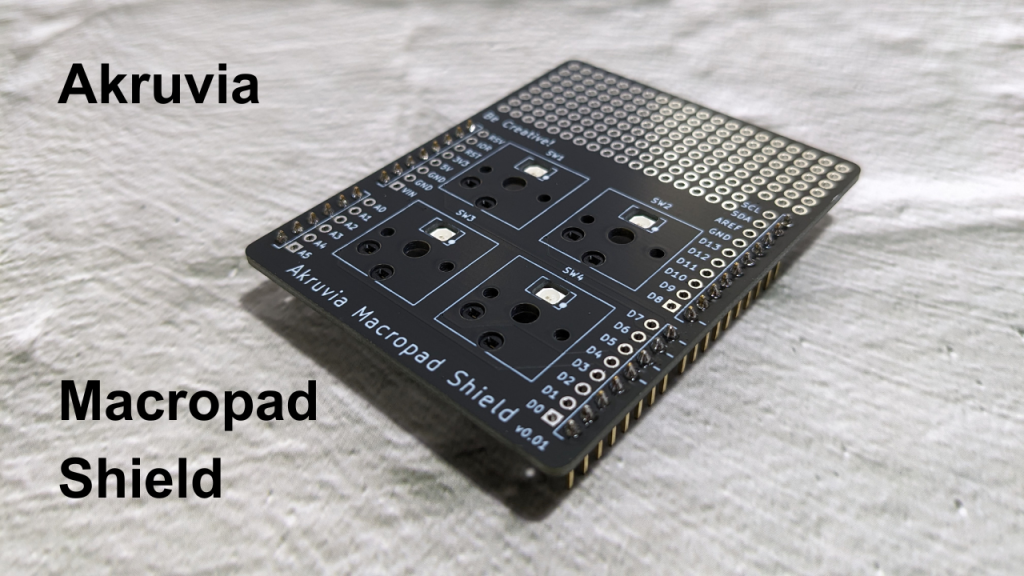
Akruvia Macropad Shield PCB
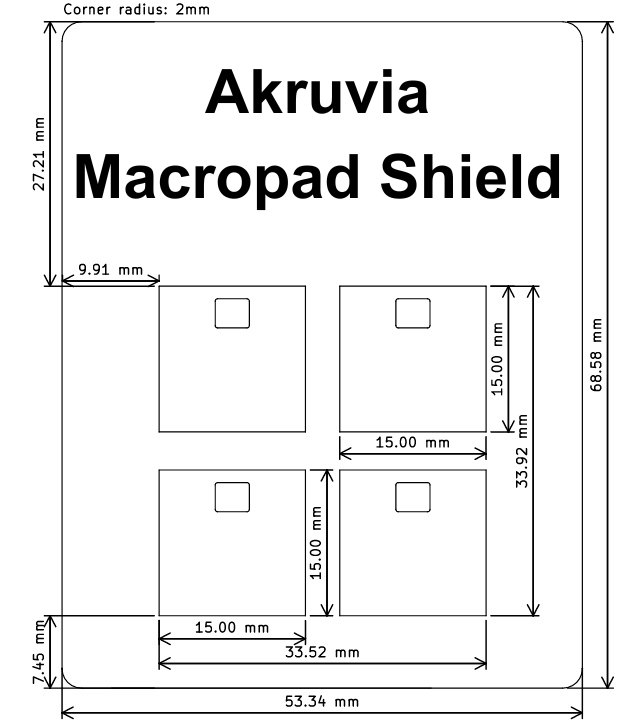
Akruvia Macropad Shield Dimensions
ASSEMBLY
Step 1:
Solder the SN74LV1T125(U1).
Step 2:
Solder the 100nF capacitor(C1).
Step 3:
Solder the 4x SK6812. (From RGB1 to RGB4)
Step 4:
Solder the 4x Kailh Choc v1 hot swap socket. (From SW1 to SW4)
Step 5:
Solder the header pins.
2x 8pin male header,
1x 10pin male header,
1x 6pin male header
from the 40pin male header.
Gallery:
Pinout:
D4 – SW3 (Enable internal pullup resistor)
D5 – SW4 (Enable internal pullup resistor)
D6 – SW1 (Enable internal pullup resistor)
D7 – SW2 (Enable internal pullup resistor)
D8 – SK6812 RGB LEDs through SN74LV1T125
Notes:
The switches are not in a switch-diode matrix configuration, but directly connected to an input pin.
You can use WS2812 libraries for the SK6812.
You can utilize the prototyping area for displays, encoders, gesture sensors, trackballs, potentiometers, LEDs, buzzers, etc. (Be creative!)