
The preset lengths for HDMI cables that are for sale are not optimal for use in making DIY handheld PCs. Don’t forget the width. The Raspberry Pi seems to be the most popular for this kind of project. Actually, I made a handheld PC myself based on the Raspberry Pi 3 B. This cable is for the replacement of the current one that is installed for the HDMI of it. I will write a blog post about this handheld PC build next time.

I have a defunct HDMI cable that is lying around. I know that the wires and the connectors itself will come in handy. So what I did is I cut it open with a cutter on its sides.

After I have made a deep cut on both of its sides, I wiggled the cutter around on the cut until the enclosure of the connector comes loose.


At last, the enclosure is now removed but the real work is just getting started. As we can see from the pictures, there are shielding and adhesive around the connector. The shielding can be easily removed but the adhesive could be also easily removed if you have the right set of equipment. Good thing I have an alcohol lamp to use to soften the adhesive as I don’t have a hot air blower lying around. I used pliers to get the adhesive out while subsequently heating it.

I did what I’ve done to both sides of the cable to get the connectors. Now that we have the connectors, we can now look for the pinout of the HDMI connector. I have looked around, it seems the pinout is pin 1 is to pin1, pin2 is to pin2, and so forth. The HDMI pinout is available on this Wikipedia article. What I have is the Type A to Type A one.

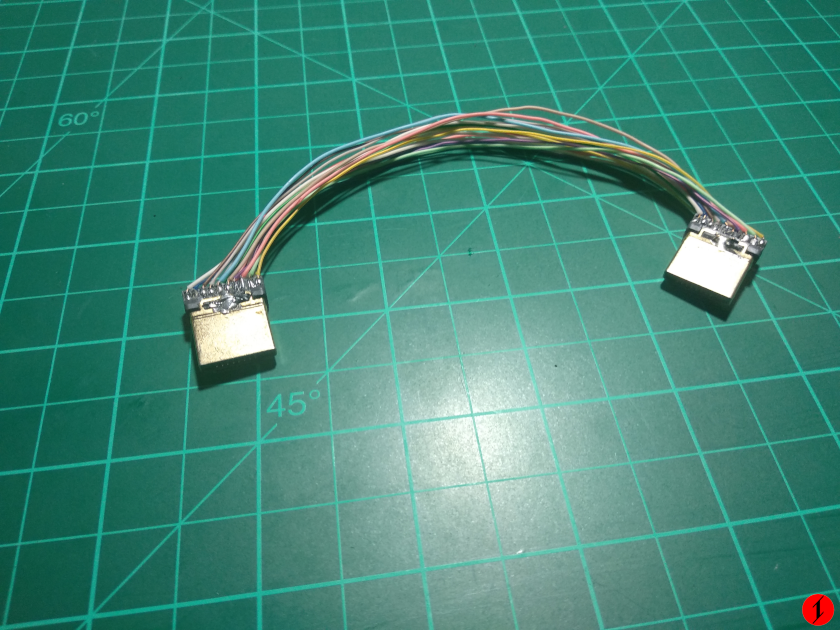
I scavenged the wires from the cable itself and solder it. We now have a low profile HDMI cable. I didn’t bother with shielding. Let’s see if this will work.


I’ve tested the DIY HDMI cable with an Orange Pi PC+. It seems to output something so I guess that the cable works. With that in mind, I can replicate this process to make custom-sized HDMI cables.